Setting Up a Place on Github
The purpose of this tutorial is to create a webpage, but this chapter is just about through the motions that are specific to Github, such as creating an account and how to do a few things. If you’ve ever used a social network, you know this dance. You hand over your email address, set a password, and now you have an account.
And Github is no different. The terminology on Github is different, but in the end, it’s conceptually no different than starting a new Facebook account, creating a new photo album, and uploading a few photos.
Again, we won’t be building a webpage of our own in this lesson, but just learning Github.
Create a Github account
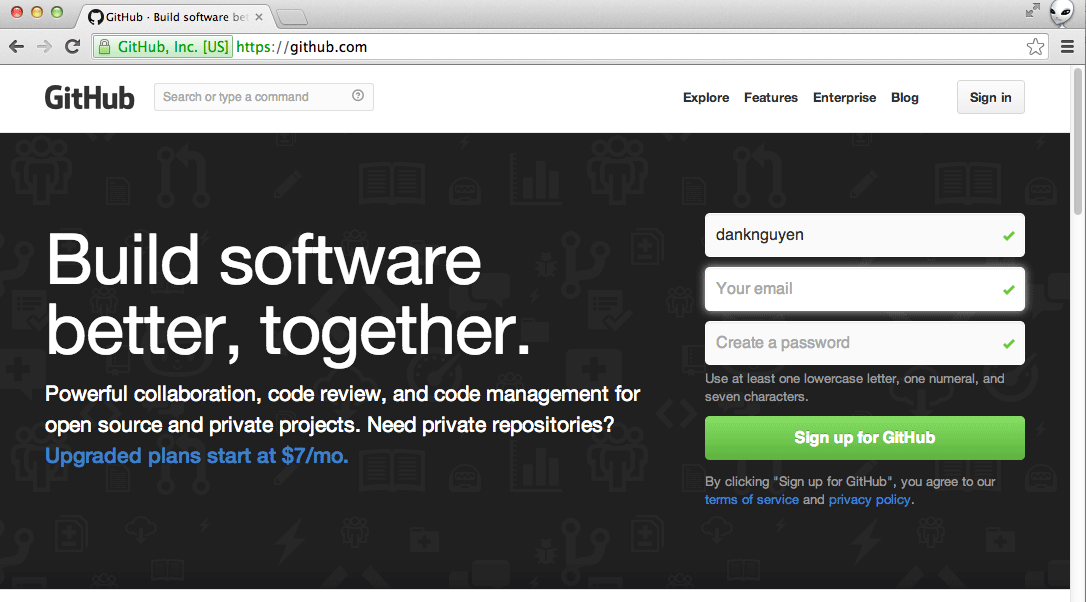
On first visit to https://github.com, you can create a new account with just your email address and by choosing a username with alphanumeric characters.
Be sure to check your email afterwards to confirm the registration.
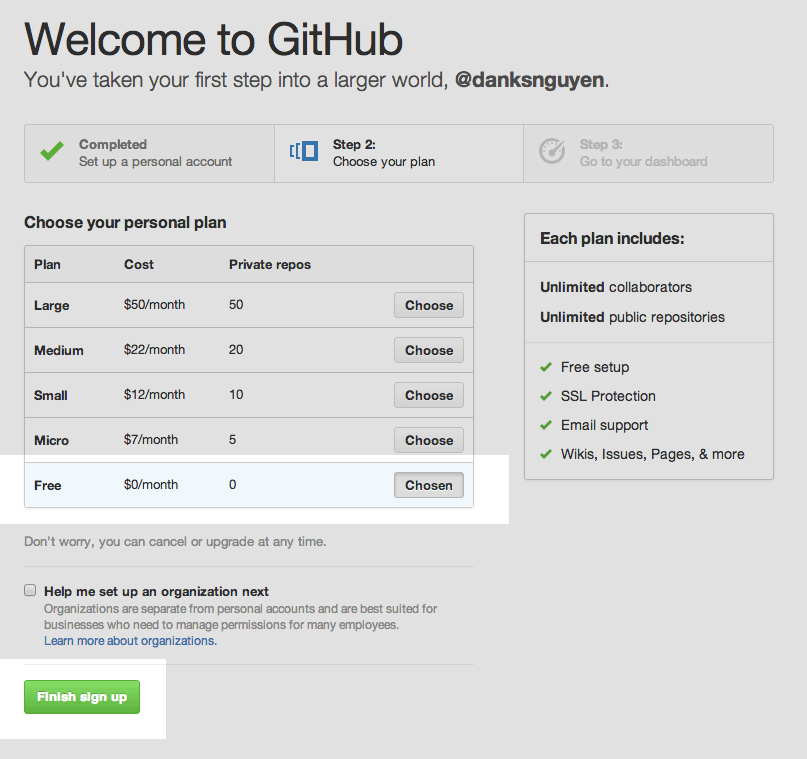
The next screen will ask you to choose your personal plan. For a monthly price, you get to host projects privately. But since we’re not making anything that needs to be hidden or propietary, we can choose the Free plan, which allows us to create an unlimited number of publicly visible projects.
Create a Github repository
In git-vocabulary, repositories (or repos) can be thought of as projects. Or less abstractly, think of them as folders in which we store our files (and subfolders).
That means that a repo can contain anything we want. Not just code files, but images and documents, just like file folders on our computers.
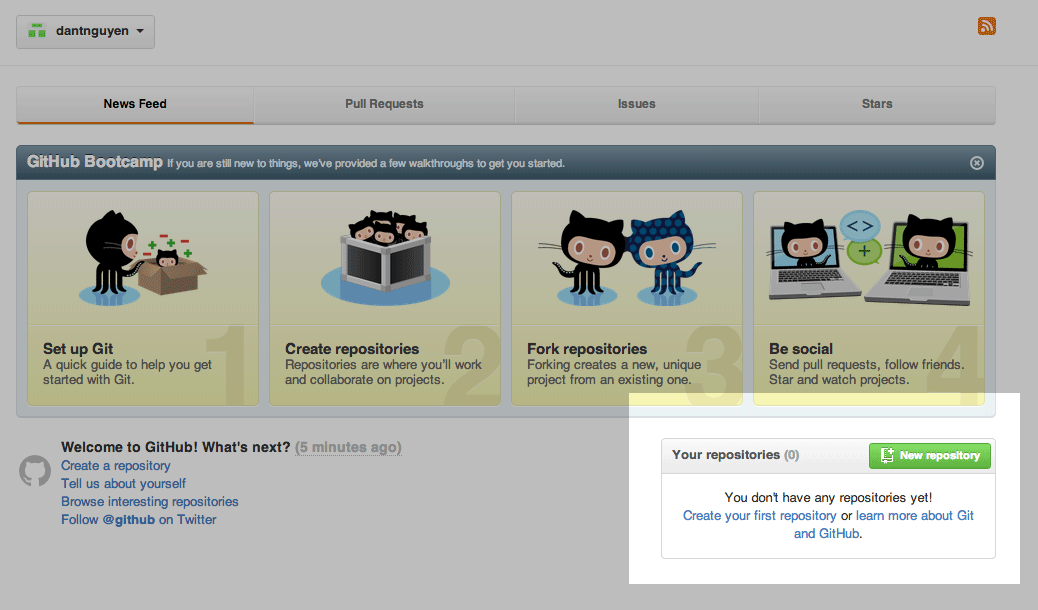
Navigate back to the Github homepage. Now that you’re a new member, Github will helpfully point out that you have 0 repositories.
Click the green New repository button to get started.
Our first repo, i.e. project, will be our portfolio site.
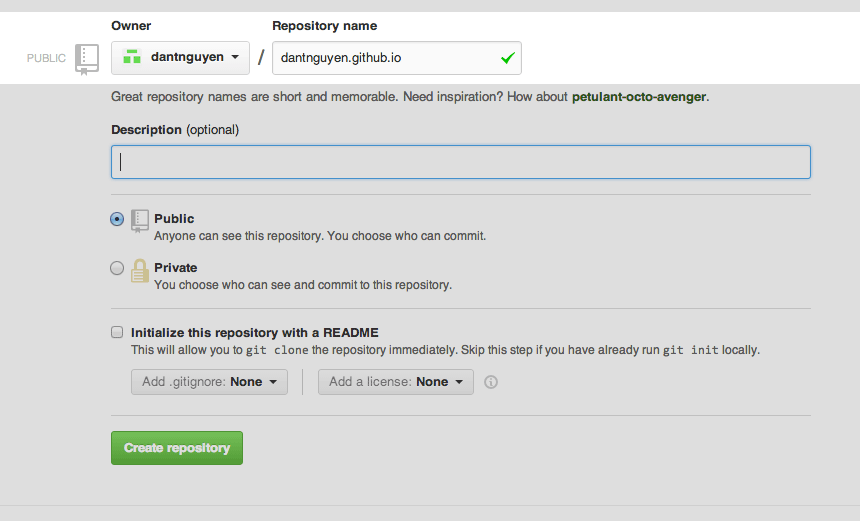
Github has a special feature, Github Pages, in which the contents of a repo can be auto-published onto their webservers. This is what we want. To enable this feature, we have to follow a specific naming convention.
For the Repository __name, enter your username, followed by github.io. You must use your exact username or else Github Pages will not be enabled.
All of the other fields, including Description, can be left alone for now. Hit the green Create Repository button.
Congrats, you are now the owner of a new Github repository.
If you are unfamiliar to git, about 95 percent of this screen will be totally alien to you, and, for our portfolio purposes, irrelevant.
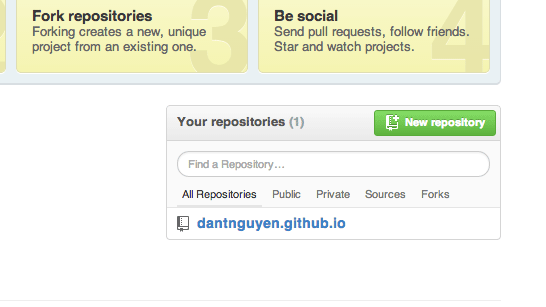
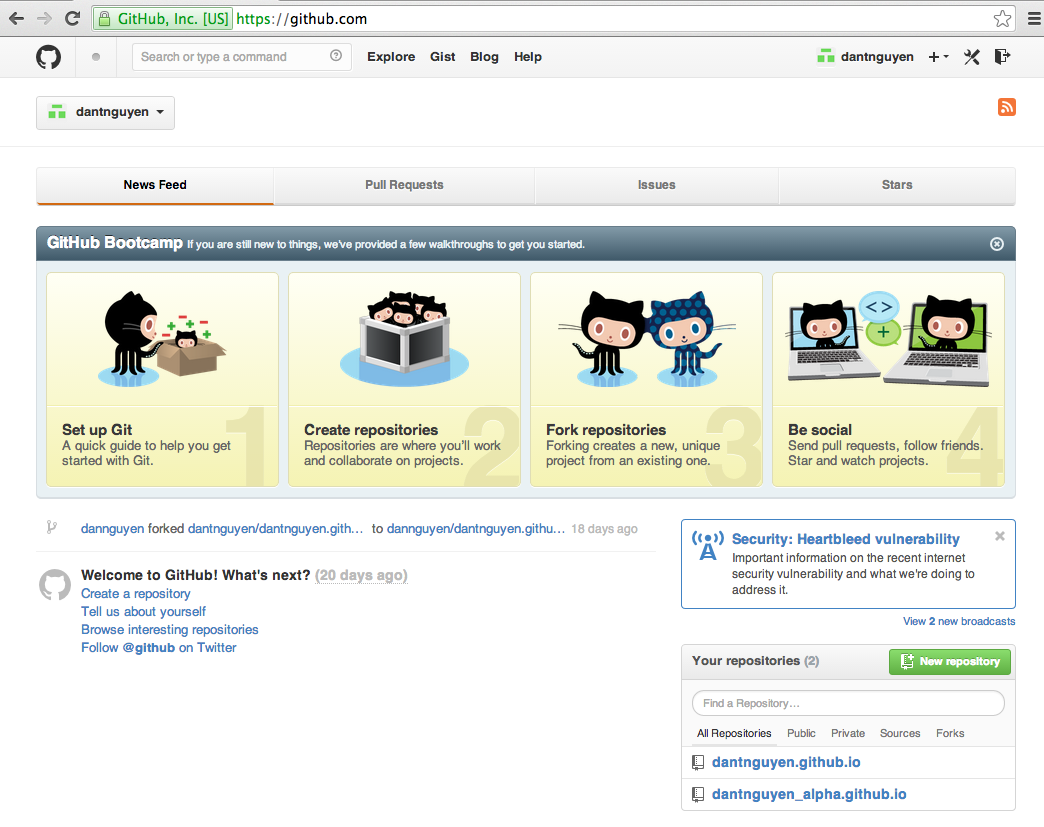
For now, revisit https://github.com to see what the homepage looks like.

The homepage is largely unchanged, but you’ll see that our repositories list is no longer empty. Clicking on the repo name will take you to that repo’s homepage, which will be the same confusing screen we had just navigated from.
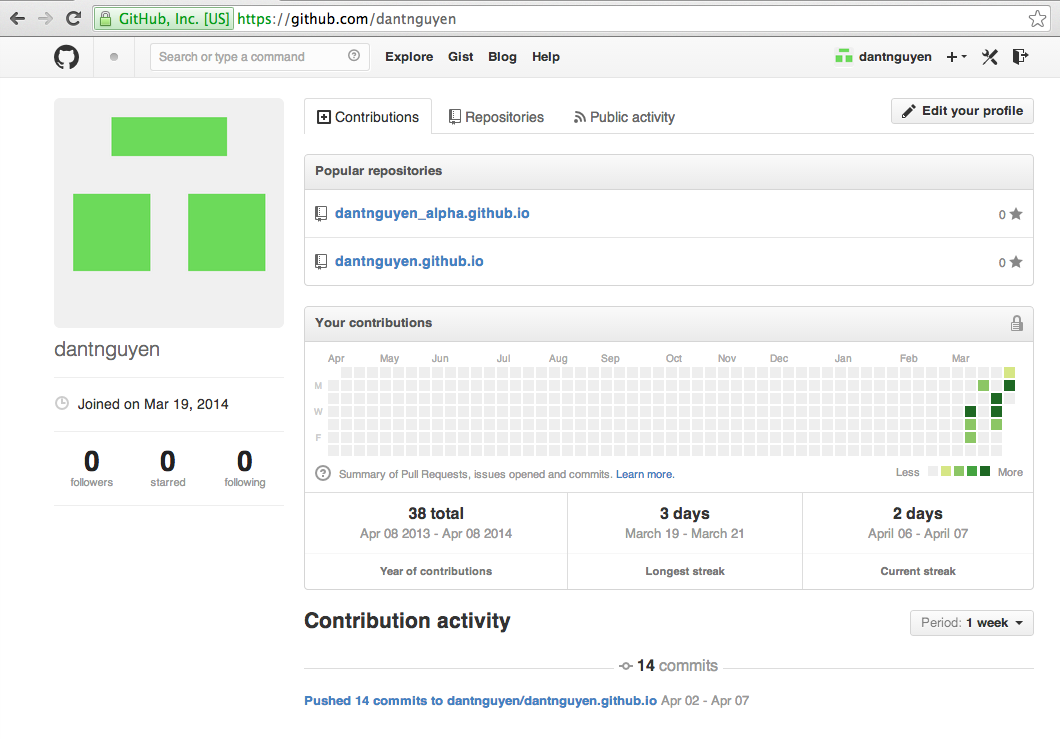
For now, let’s take a quick look at your user page, which you can visit by going to:
https://github.com/YOUR_USER_NAME
Most of this will be irrelevant to you right now. You haven’t done anything besides create a repository, so your Contribution Activity will be empty.
However, since we’re not currently using Github to collaborate or work on team projects, most of this screen won’t matter to us right now. But if you visit the page of an active user, such as Hadley Wickham of R/ggplot2 fame, you can see how Github is basically a social network for developers.
What’s important to know is that this is simply your Github account/user page, and not the homepage for the repo
that contains your portfolio, i.e. yourname.github.io
Let’s go to that page now by clicking on the listed repo link.
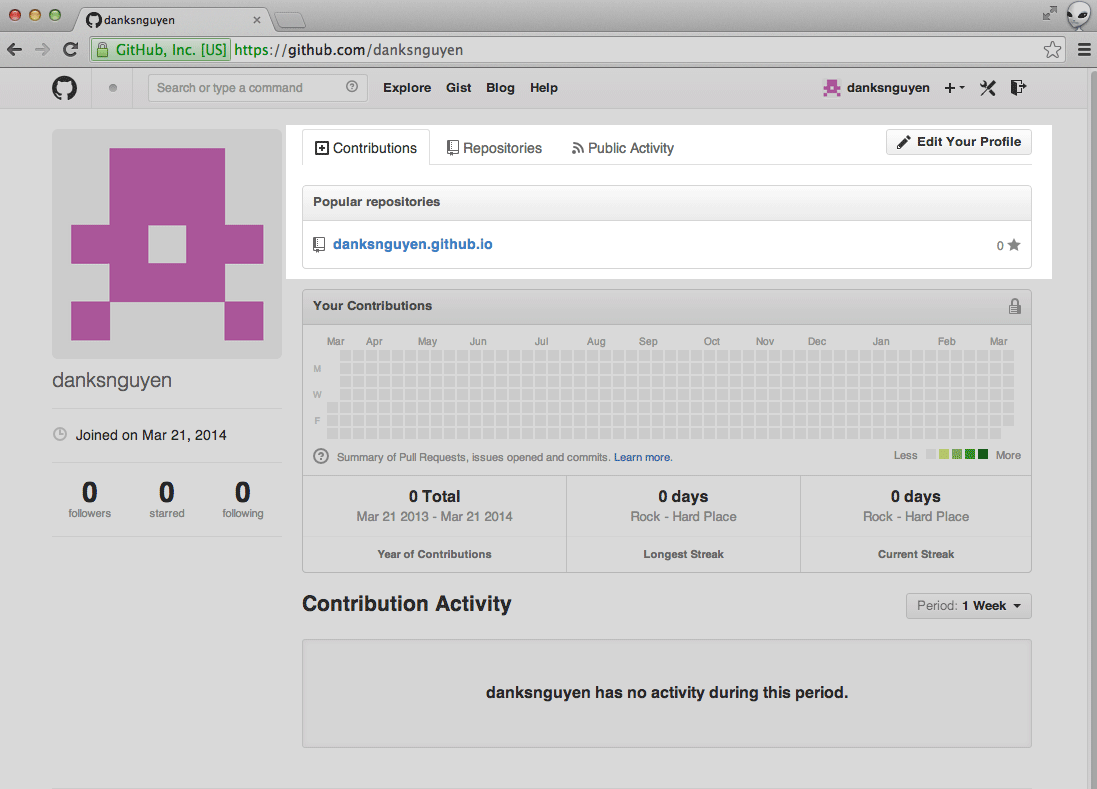
Note: I used several Github accounts in setting up this lesson. If you’re sharp-eyed, you’ll note that this screenshot shows a Github account that is different than the one I use throughout the tutorial.
Creating a README.md
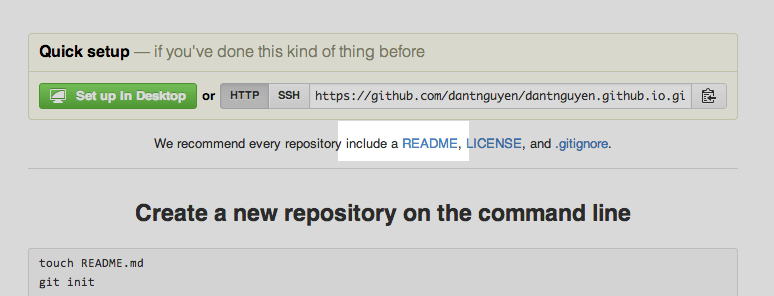
On our empty repo page, the one instruction we should care about is the one that says:
We recommend every repository include a README, LICENSE, and .gitignore.
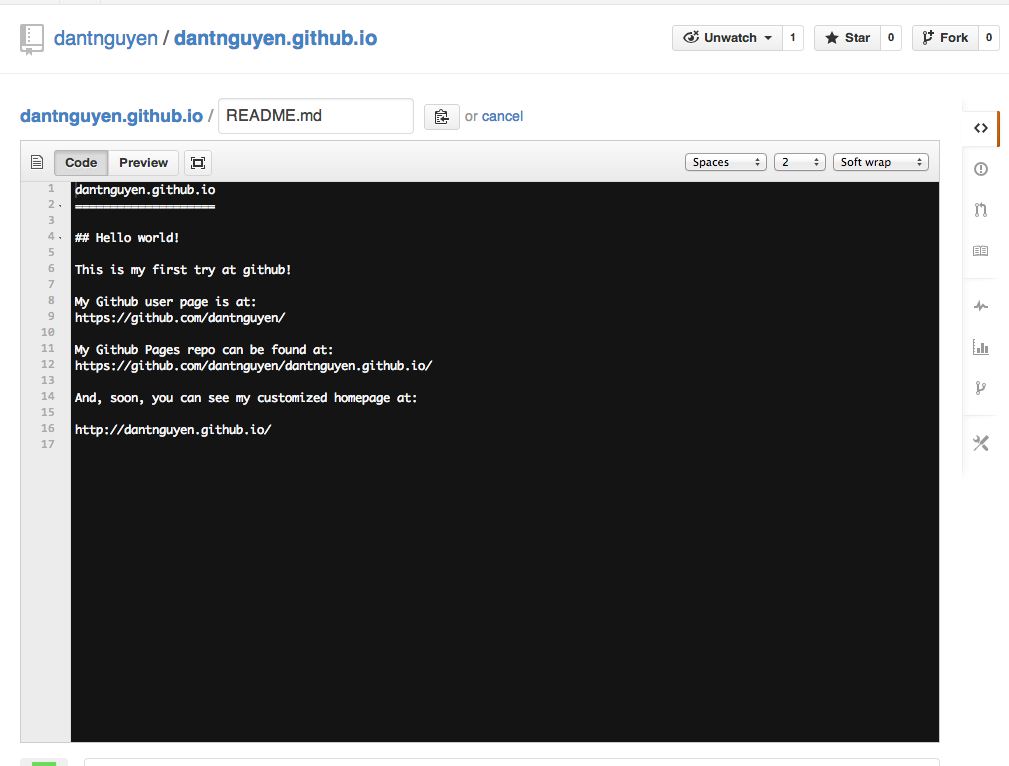
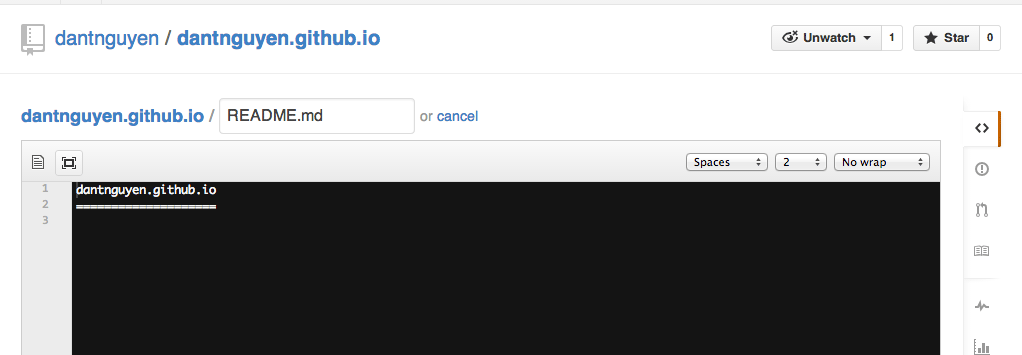
Click on the README link, which conveniently takes you to the Github file editor.
The Github file editor lets you create and edit files in your web browser. The more you get experienced with git and Github, the less you’ll be using this feature. But it’s convenient for trying things out.
Notice at the top of the file how README.md has been filled out for you. You could enter
any filename you want. But let’s stick with README.md
The md file extension is short for Markdown, which is a mini-language that is meant to be
a simplified, human-friendly version of HTML.
I highly recommend learning Markdown at some point, but the upshot here is that you can type in any text you want, it doesn’t have to be code.
If you already know HTML, you can write some now. But to get a taste of how Markdown works, just type in text as if it were a plain-text editor.
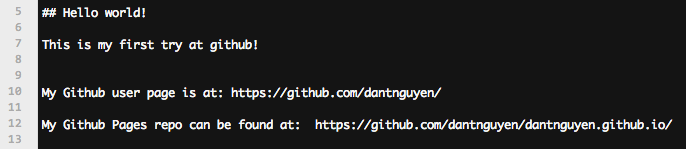
Besides plain text, paste in a few URLs (sans <a> tags), such as the link to your repo page and Github account page.
You can paste in the following (and edit to your specific case):
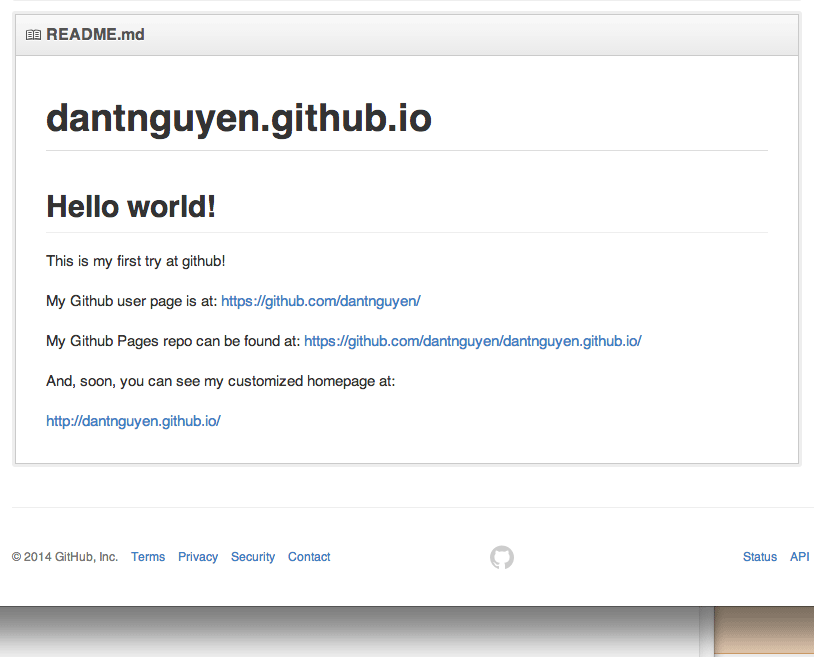
dantnguyen.github.io
====================

## Hello world!

This is my first try at github!

My Github user page is at:
https://github.com/dantnguyen/

My Github Pages repo can be found at:
https://github.com/dantnguyen/dantnguyen.github.io/

And, soon, you can see my customized homepage at:

http://dantnguyen.github.io/
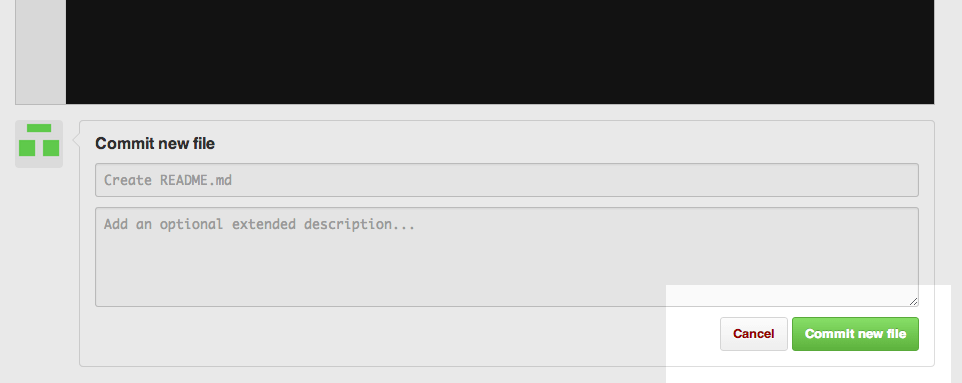
At the bottom of the page, you can ignore the optional fields and just click the green button to Commit new file
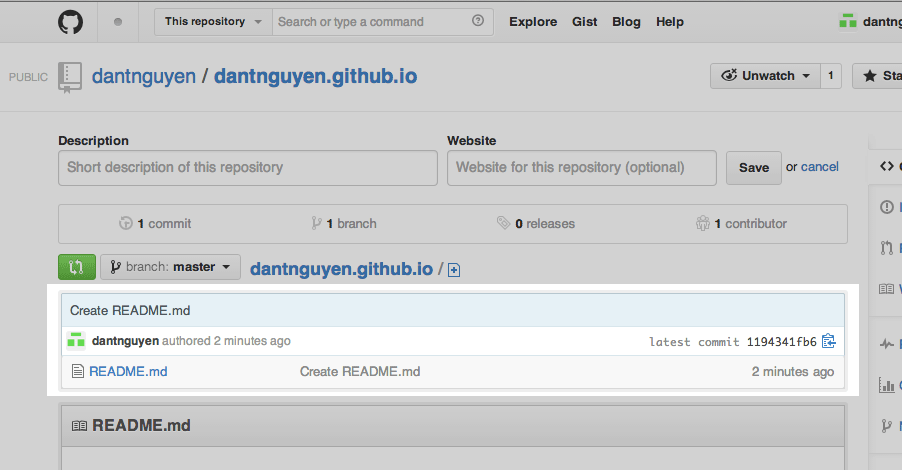
After creating the file, you’ll be shown the results of your commit: a new file named README.md in your repo.
Besides creating and adding the README.md file to the repo, that Commit new file action has helpfully recorded some useful metadata, including when the “commit” took place and a short description: Create README.md.
As we’ll see later, “commit” is not synonymous with “create”. A commit can consist of changes (including deletions) to one or multiple existing files.
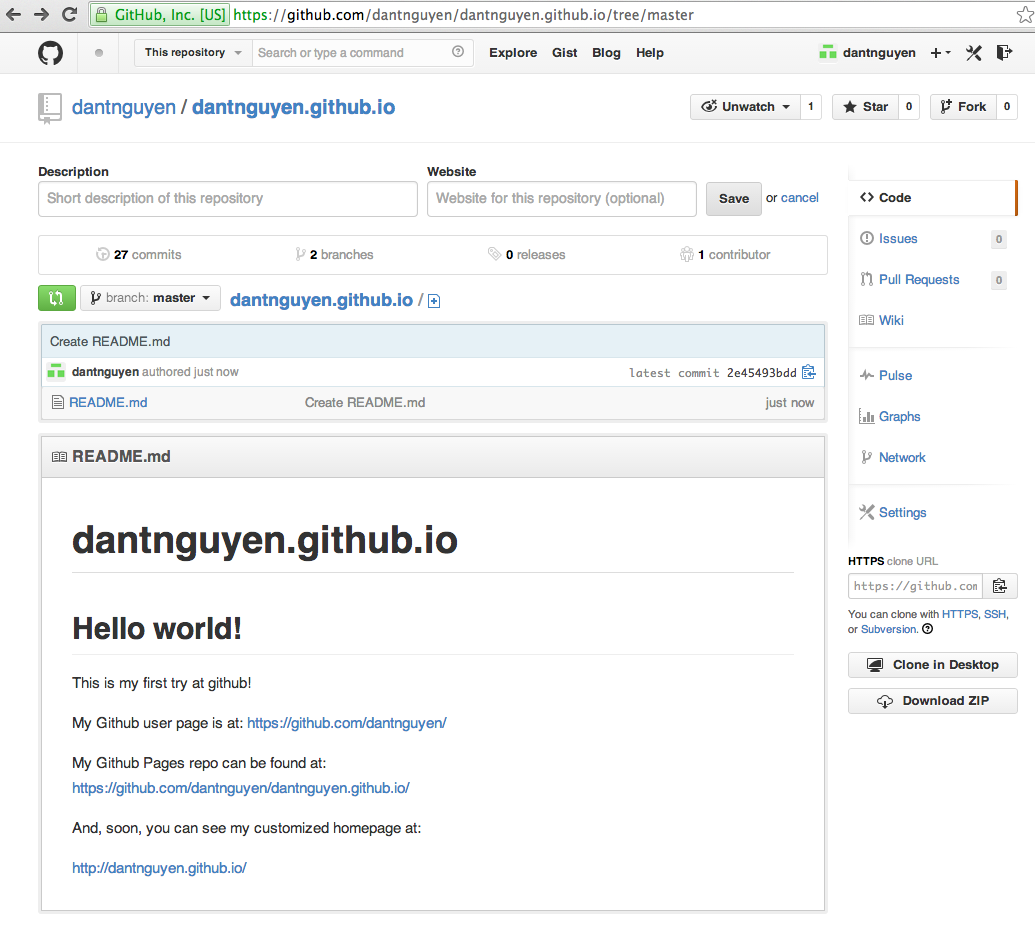
Scroll down a bit and you’ll see that Github has rendered README.md – even though it was just plaintext – as if it were a real webpage. This is a special convenience feature of Github, to treat README.md as a sort of boilerplate informational webpage for visitors of your repo homepage.
Note that this is not your actual portfolio page. Again, think of a repo as simply a folder for your project, and this is how Github displays the project’s file listing.
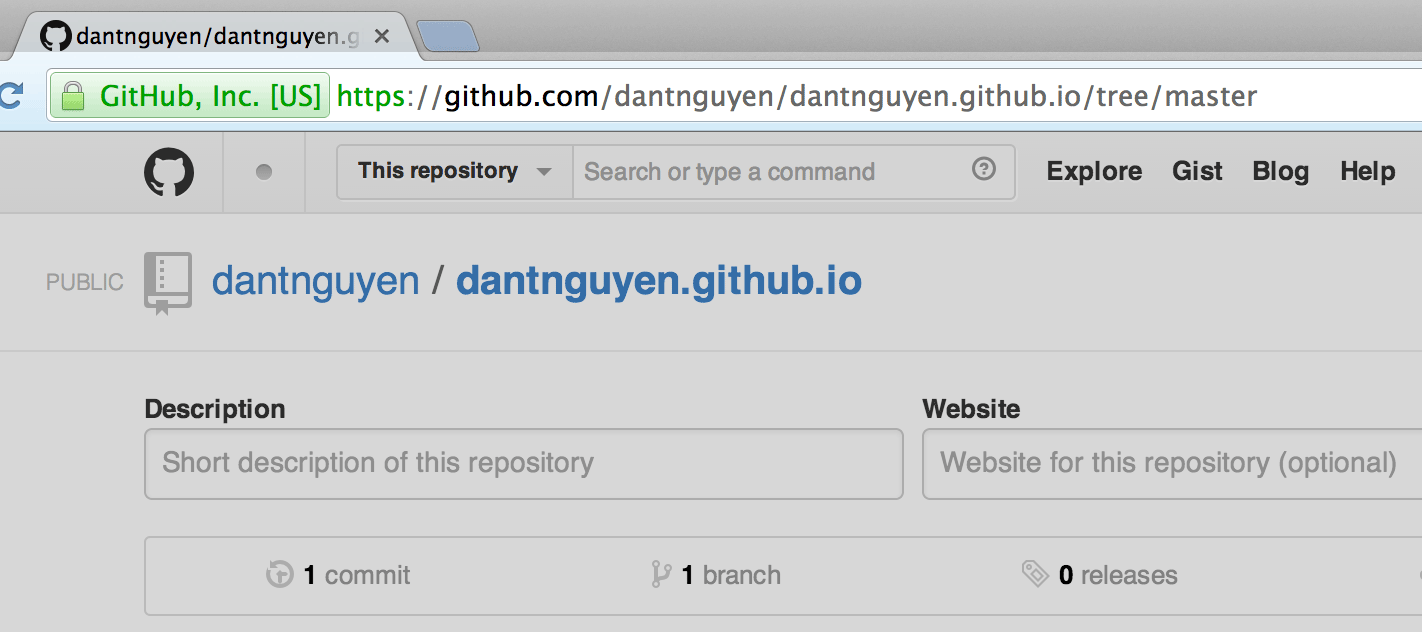
Note the URL:
github.com/dantnguyen/dantnguyen.github.io/tree/master
The repo path should be familar:
github.com/dantnguyen/dantnguyen.github.io/
The rest of it – tree/master – is a reflection of how git internally tracks and stores files in a tree structure.
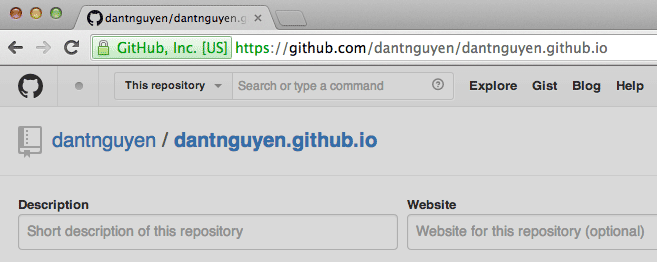
We’re not going to cover the internals of git in this tutorial, so for now keep thinking of your project repo as any other file folder you’ve maintained. You can always get to the root of your repo at this URL:
http://github.com/username/username.github.io/
For our limited purposes, this is functionally the same repo page:
Things we’ve learned
How to get to Github
The Github homepage is at the URL:
https://github.com
After you’ve registered an account and logged in, the Github homepage will show data relevant to your account, in the way that https://facebook.com shows the personal newsfeed of the currently logged-in account.
How to create a Github account
Once you’ve registered with a username, your Github account homepage will exist at:
https://github.com/username
For our purposes, this page lists the various repositories (i.e. projects) you’ve created and your recent activity.
Note: In the next chapter, we will learn about the Github Pages service, and I’ll be making reference to your Github portfolio (or Pages) homepage, which is an entirely different URL.
But I will still refer to your Github account homepage, which, again, exists at this URL:
https://github.com/username
How to create a Github repository
A repository can be thought of as the file folder for a project. In this lesson, we created a repository that has the name of:
username.github.io
From now on, when I refer to your portfolio project repo, or, the “repo for your portfolio,” I am referring to the the repository that is named username.github.io, which, yes, does indeed look like a URL.
The homepage, or the root/top-level for this particular project repo can be found at the URL:
https://github.com/username/username.github.io
Note: you can create repos with whatever name you’d like. To verify this for yourself, try creating a new repo called hello-world and notice how its top-level/homepage is located at:
https://github.com/username/hello-world
How to create a file on Github
Using Github’s web browser-based file editor, we were able to create a plaintext file named README.md.
In the next lesson, we’ll learn how to add new files and edit them using the browser-based file editor. And afterwards, we’ll see how to add and edit files using text-editing programs on our own computer.